Tutorials
Learn how to capture professional-quality 3D data with Nsite.ai
Getting Started
Request Access to the App
Nsite.ai is not publicly listed on the App Store — access is provided directly by our team. Contact us at info@nsite.ai to request access to the iOS application for your iPhone running iOS 18 or later.
Create Your Account
Sign up at nsite.ai with your email address or sign up in app. Email verification is required before you can sign in.
Capture Workflow - Objects
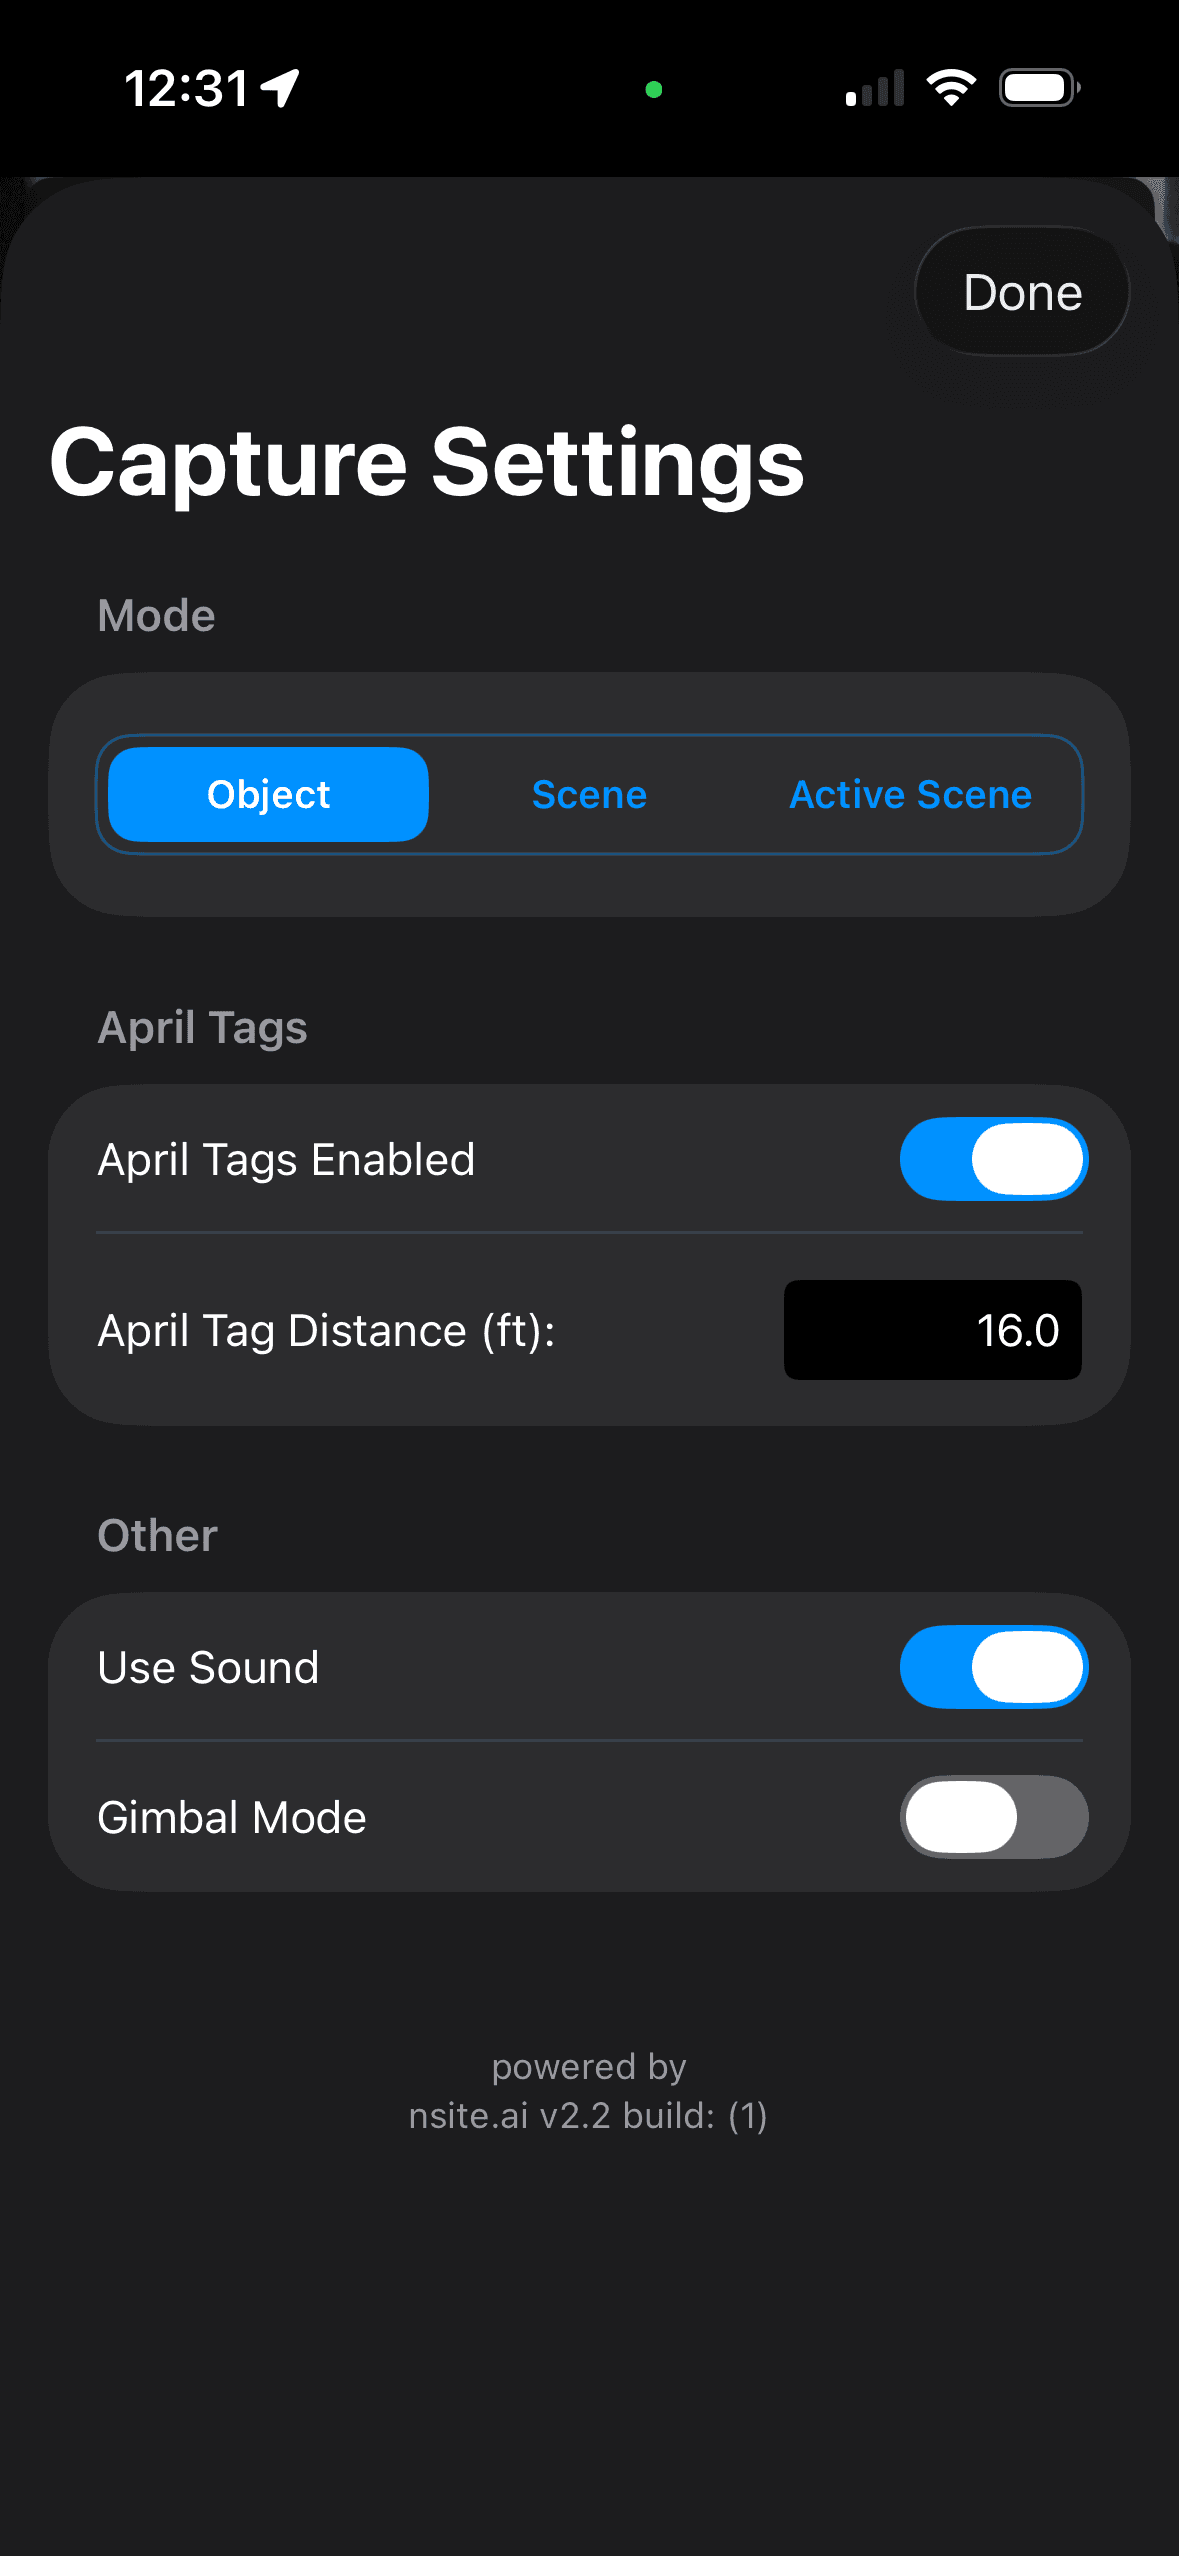
Select Object Mode
Choose object capture for items that can be viewed from all angles — vehicles, equipment, evidence items, and similar subjects.
Capture the Object
Walk around the object at three heights — low, medium, and high — scanning as you go to ensure complete coverage from every angle. Make sure the phone is in portrait orientation.
Review and Upload
Check your capture for completeness, add any notes, and upload for processing. Processing time varies depending on capture size.
Capture Workflow - Scenes
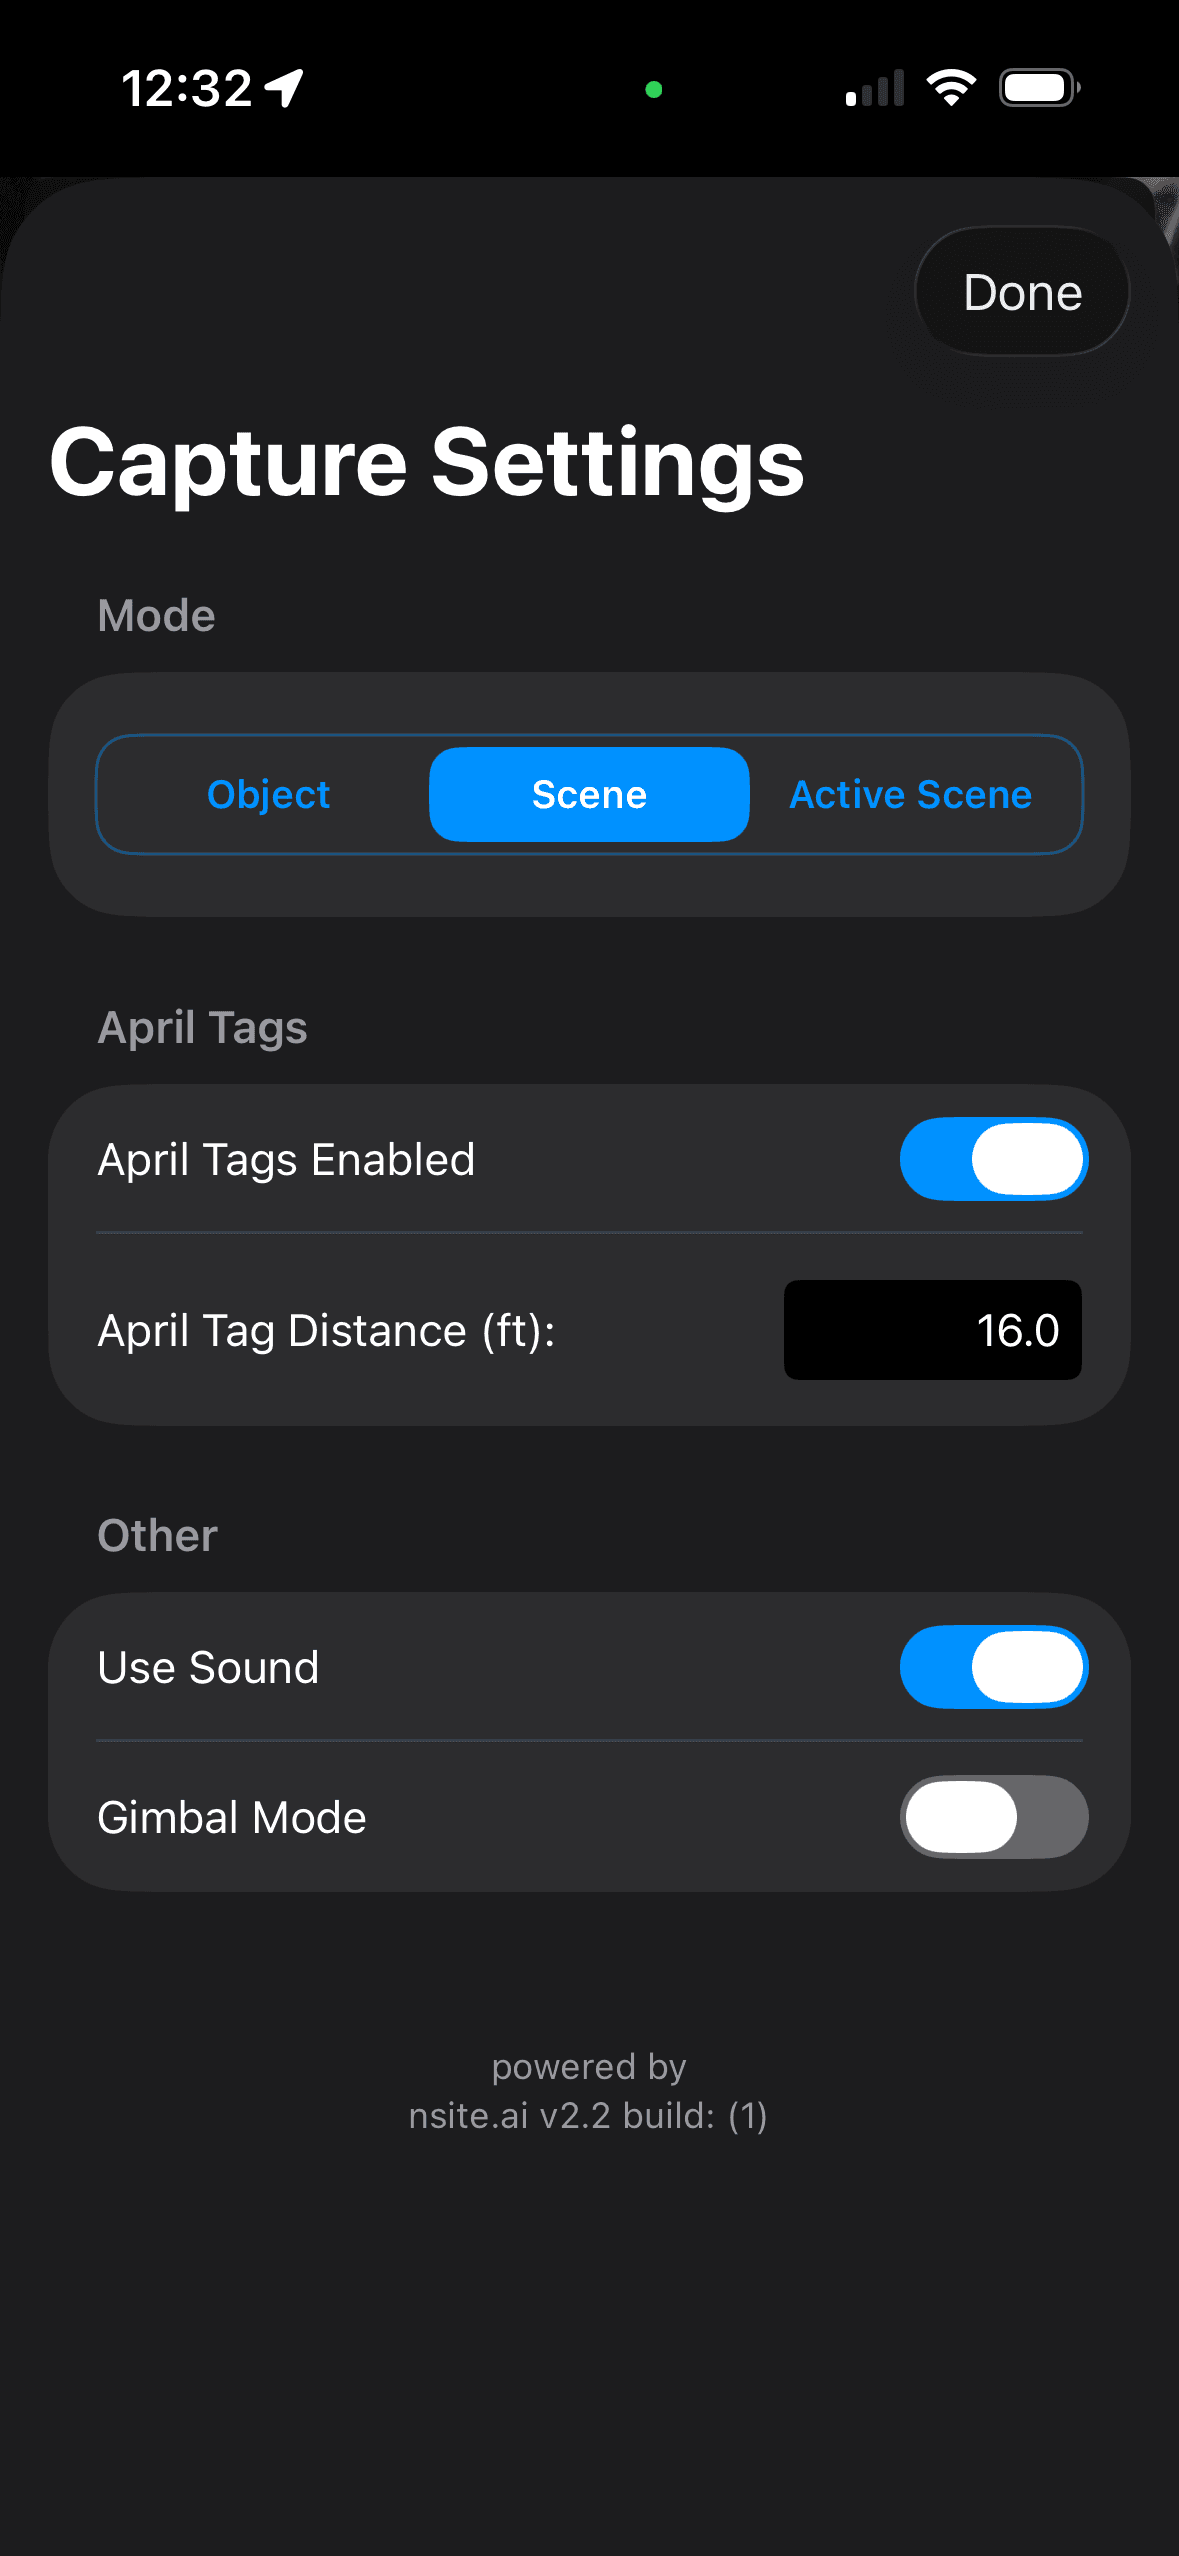
Select Scene Mode
Choose scene capture for larger areas — rooms, accident sites, construction zones, or any environment too large to capture from all sides.
Plan Your Coverage
Walk the space first to identify key areas and plan your path. Good coverage requires systematic movement, not random positioning — plan before you start. Use AprilTags if able.
Capture the Scene
Move steadily through the space, capturing from multiple angles and heights with generous overlap between frames for the best reconstruction quality. Make sure your phone is in landscape orientation for best results!
Capture Workflow - Active Scene
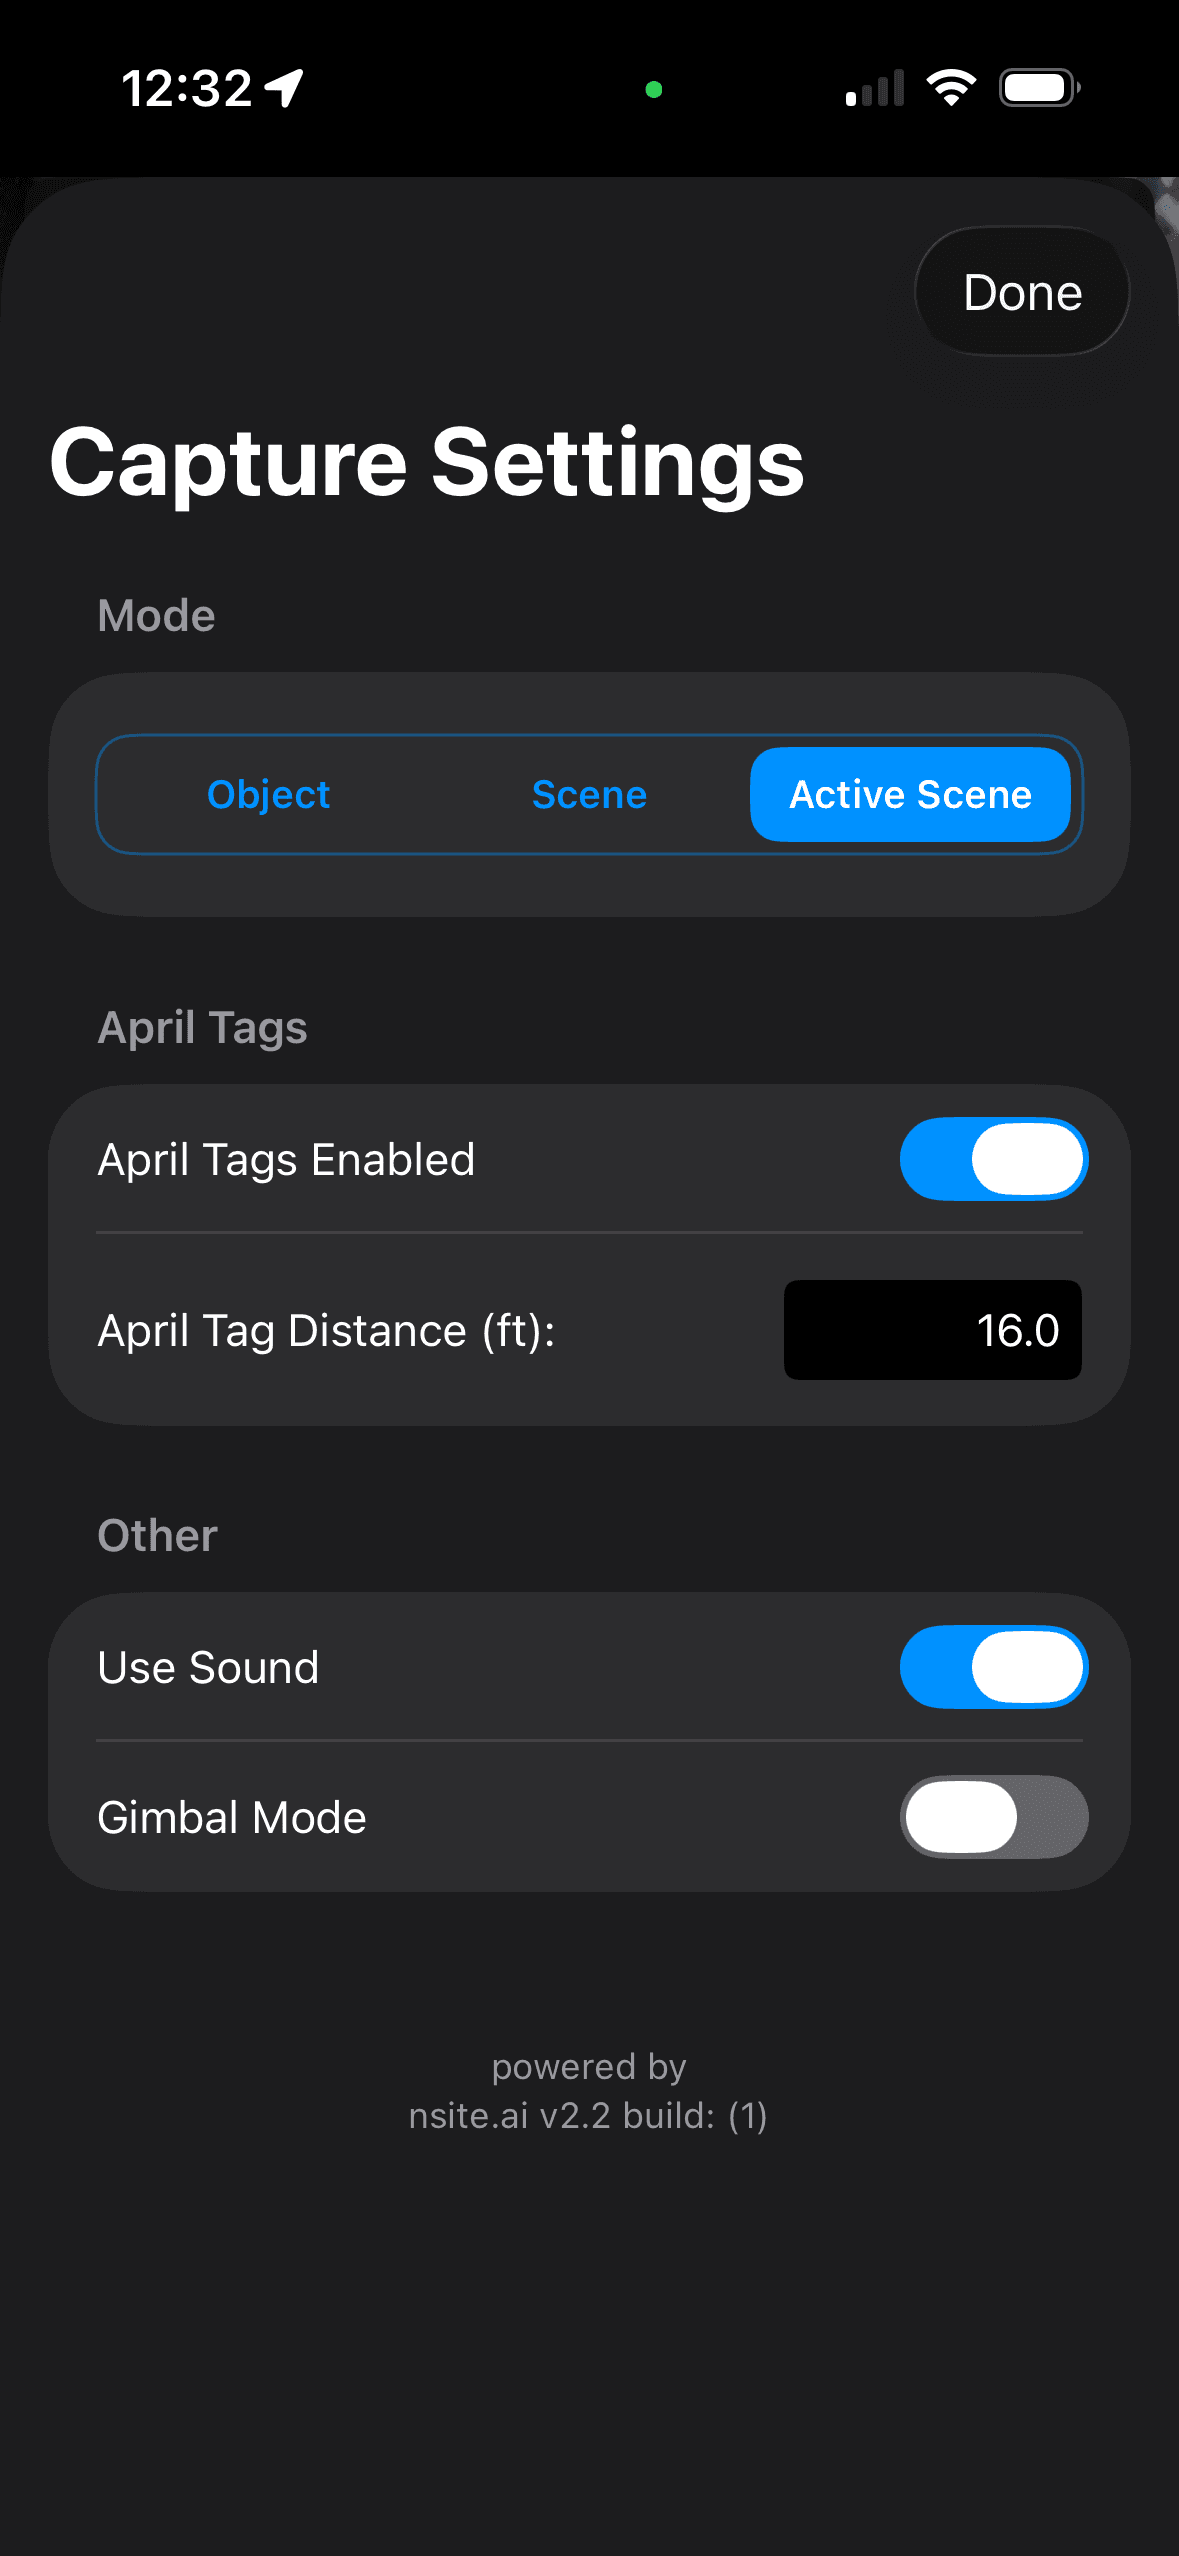
Select Active Scene Mode
Choose Active Scene mode when your scene includes vehicles or other elements you need captured as part of the environment — for example, an accident site where a vehicle is still in place.
Plan Your Coverage
Walk the space first to identify key areas, including a full pass around any vehicles in the scene, and plan your path. Use AprilTags if able.
Capture the Scene
Move steadily through the space, making sure to fully capture the vehicle from multiple angles and heights in addition to the surrounding area. Make sure your phone is in landscape orientation for best results!
Review and Upload
Check your capture for completeness, add any notes, and upload for processing.
Using AprilTags
Obtain the Correct AprilTag Markers
Contact us at info@nsite.ai before your capture to receive the correct AprilTag markers. We provide markers matched to our capture requirements — third-party or self-printed tags are not supported.
Place Markers in the Capture
Position tags at known distances apart across the scene. Measure and record the distances between each marker before capturing.
Ensure Tags Are Clearly Visible
Each tag should be visible from multiple angles. Keep tags flat, unobstructed, and well-lit so they can be detected automatically during processing.
Enter Measurements
Input the measured distances between tags when uploading your capture. These values establish real-world scale in the final model.
Best Practices
Lighting Conditions
Use consistent, diffuse lighting throughout the capture. Avoid harsh shadows, direct sunlight, and mixed lighting sources — these all degrade reconstruction quality.
Capture Speed
Move slowly and steadily in a breif stride. Try and keep steady to avoid motion blur. We recommend using a Selfie Stick to stay stable.
Detail Capture
Supplement your systematic coverage with close-ups of important details — damage points, reference markers, or areas of specific interest.
Avoid Obstructions
Keep moving objects, people, and vehicles out of the scene during capture when possible. Anything that moves between frames will degrade the reconstruction.
Need More Detailed Instructions?
For anything not covered here, reach out to us at info@nsite.ai.